
Create your own conference system. Part - 2
In the second part of our article we will create angular application for our conference system.
The source you can find here: https://github.com/vbondaryuk/ConferenceSystem
We will use Angular CLI for easiest creating an application also it can help us to create services/modules/etc.
Setup requirements
There are come requirements for angular application
Please download and install following:
Creating Angular application
After installing node and angular CLI we have all required instruments to create app.
Run this command in terminal ng new conference-system-app.
Due to executing it should ask you some question about which stylesheet would you like and would you use Angular routing.
Lets choose scss and Yes for routing.
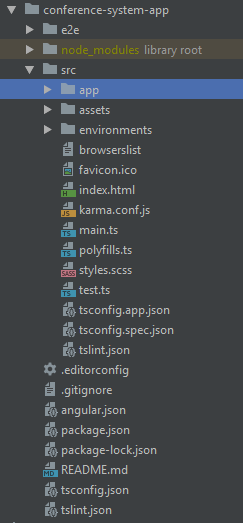
After previous steps you will see an empty application with following structure
One minor point I will use bootstrap in some cases so lets add it npm install bootstrap
After installing @import '~bootstrap/scss/bootstrap.scss'; to style.scss
We can check have our application been creating correctly via ng serve this command run our application on default port.
It should be http://localhost:4200
Perfect! Our application works, now let's go to chat implementation
Chat Implementation
Our chat implementation in the current stage will have following possibilities:
- Login
- Register
- Send messages
- Receive messages
Lets start from registration
For handling users lets create some models
ng g interface shared/models/user.login- used for sign inng g interface shared/models/user.registration- used for registrationng g interface shared/models/user- information for logged in user
After this commands you can find new folders shared and models inside of it
Change you models accordingly gists above.
After creating user models we need to create services for retrieving user information from back-end part we create in the previous article.
For doing this we can add path to our system in environments. Go to environments/environments.ts and add path: apiUri: 'http://localhost:4201'
authentication.service.
Lets create authentication.service. ng g service shared/services/authentication
Every method in service above has behaviour accordingly the name of it. This service accountable for authentication.
Take a look method authResponseMap after registration or sign in we retrieve jwt_token and jwt_refreshToken and save it in the localStorage.
After logout this tokens deleted from it.
Due to initialization this service we retrieve information from local storage about jwt_token.
So if token valid we should have an possibilities to skip authentication steps. Lets take a look how we can do it.
How can we do it?
Angular can help us with it. It has HttpInterceptor. Interceptors allow us to intercept http request/response and handle them
JwtInterceptor
The JwtInterceptor intercept the http request from application and add the JWT token for every of them if user logged in.
Run ng g class interceptors/jwt.interceptor
You can see we validate if user logged in, add token, unless call next http handler
HttpErrorInterceptor
While we are working with interceptors lets add http error interceptor. There we will validate if exception status is 401 then call logout method for cleanup local storage
Run ng g class interceptors/http-error.interceptor
After creating interceptor we should add its to providers section in app.module.ts
Login module
Login module will accountable to sign in/register users
Lets create login module and two Components inside of it.
ng g module modules/login- create login moduleng g component modules/login/components/login- component for sign inng g component modules/login/components/register- component for registration
So module and components were created. We need to add routing for switching between pages Login/Register.
ng g class modules/login/login-routing.module
For turn on this routing it should be added to login.module.ts to import section
Lets take a looklogin.component
login.component.scss you can find here
The code here is not so difficult. When the component initialized we put url to variable, since we can be moved from other page as we does not registered yet.
After correct registration we will redirected to needed page. In login.components.html you can see some validation for an email and password
For support [(ngModel)] we should add FormsModule into imports section in login.module.ts. If you will use reactive extensions you should add ReactiveFormsModule

Next component in login module is register component
register.component.scss you can find here
Both of this components Login and Register pretty same.
Dashboard module
This module will accountable for toolbar. In toolbar we will see detailed information for user and logout button
ng g module modules/dashboard- create dashboard moduleng g component modules/dashboard/components/dashboard- component for toolbarng g class modules/dashboard/dashboard-routing.module- routing configuration
Lets take a look:
For retrieving user information we need to create new service
ng g service shared/services/user
Then we should configure routing for our module
Now we need ro register this routing in dashboard.module.ts just add DashboardRoutingModule to imports
AuthGuard
Due to working on our application we need to think how can we prevent unauthenticated access to some of our components
Dashboard for example. We can do this by implementing CanActivate
Angular interface which can help us decide is routing can be activated or not. Lets add implementation of this interface:
ng g guard guards/app than chose canActivate
Firstly we validate is user logged in if yse return true, unless redirect to login page and throw correct url path(after login we will correctly redirected to needed page)
Open app-routing.modules.ts and configure routing. Hide Dashboard routing via AthGuard
Now clean app.component.html and add only one row <router-outlet></router-outlet>
Excellent. Now we can run ng serve and take a look. We should have login page and dashboard.